Views: 31
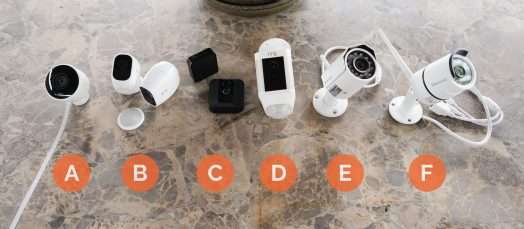
Best Outdoor Security Camera Systems 2023, After months of testing six of the top-rated outdoor home security cameras, tripping alarms and checking countless notifications, we’ve found the Nest – Cam Outdoor to be the quickest, hardest working, most accurate and, ultimately, the overall best outdoor security camera system. We appreciated its ability to quickly scroll through previous uninterrupted footage on either your computer or smartphone. The Arlo – Pro 2 came in a close second.
Why do you need a home security camera system?
One of the main benefits of having an outdoor camera is safety and peace of mind. Capturing images and videos of an intrusion or disaster can save time and money, especially in the unfortunate case that something happens to your home. Having such footage can provide real evidence to the police, insurance companies or even the wrongfully accused neighbor of not cleaning up after their dog (true story).
During our testing we discovered a more heartwarming and entertaining reason for outdoor cameras: to capture and relive life’s little moments. We especially appreciated being able to check up on our kids and pets as often as we’d like.
The internet is full of moments captured on outdoor security cameras, some encouraging and others that tell a cautionary tale. We also had our fair share of these moments. The most shocking moment was being able to catch an intoxicated person trying to enter the wrong house, our house! In only a few short minutes, we realized that even in no real danger it is worth every penny to have a camera rolling for peace of mind.
Here’s a sped up clip we caught of an inebriated stranger mistakenly trying to access our residence:
How are self-monitoring systems different?
There are three major differences between a self-monitoring system and a monitored security system, and it’s important to consider what is best for you and your family.
The first difference is that a traditional monitored system has alarms and signals that will alert the authorities if something happens. On a self-monitored system, no one else is watching your cameras, and the police or fire department are not alerted if something happens when you’re not paying attention to notifications.
The second difference between the two will be the hardware included. Self-monitored systems all watch for motion, but monitored systems typically come with special smoke detectors, open-door alarms, window-opening alerts and a siren. You can assemble similar functionality with a DIY self-monitored system, but making sure it all works together is on you.
Finally, a monitored system will almost always use a telephone hard line or cell phone tower to communicate with a security company, while self-monitored systems rely on your home internet connection and Wi-Fi to update you if something happens. If your Wi-Fi is on the fritz, a self-monitoring wireless camera won’t work. Here’s a quick summary.
Monitored security system:
Self-monitored system:
A great option for renters or an alternative for homeowners is self-monitored systems. Self-monitored cameras still come with motion alerts, link normally to your phone and send messages based on your preferences. As you will find out below, not all cameras are created equal, and some offer options that add to the protection of your home.
How do self-monitoring home security cameras work?
Self-monitoring security cameras are connected to your home’s WiFi router and allow you to monitor a selected space via your smartphone or computer. Installation can be done in less than 30 minutes, including installing the camera in its place and installing the corresponding app on your phone. Once up, it will take a few minutes to get the cameras set just right to include a level of customization that fits your needs.
The next step is to set up notifications that will be sent based on your preferences. Alerts or notifications are sent three ways: via email, text message or push notification. During our testing, we discovered that all three notifications went out at the same time for all cameras. We also found that push notifications were most convenient, as emails and text messages can go unnoticed.
Compare the best outdoor security camera systems

Important features to consider
Hardware
Weatherproof: If the goal is to keep a camera outdoors at all times, it needs to be able to do so in all weather and all seasons. For this test, we chose cameras that are waterproof and can function in severe conditions from -4 °F to 130 °F.
Motion detection: It is unlikely that the average person has the time to rewatch videos daily to look for activity. Self-monitoring systems send alarms based on ranges of motion and alert you right away of any activity.
Field of view: You will want a camera to be able to capture it all in one frame. You should consider the camera’s degree of view before starting your search. Installing a camera higher to get a wider viewpoint might decrease the clarity of the picture. All cameras we tested have at least a 100-degree field of view.
Resolution and zoom: Resolution is the measurement of pixels of a picture or basically how clear your image will be. Typical resolutions for self-monitored cameras are between 702p and 1080p. It is important to note that when you zoom, you will always lose some quality, but starting with a higher resolution will result in a clearer zoomed shot.
Night vision: Cameras should work for you 24/7 and not just when the sun is out. You will want to make sure your self-monitored camera has a high-resolution night vision camera in addition to the day time camera. For this article, we tested only high-resolution day and night cameras.
Audio: Ideally your self-monitored system will have the ability for you to see and listen to what is happening. Some cameras even allow you to talk through the app on your smartphone and be broadcast through the camera.
Look and feel: No one wants their camera to be an eyesore or blatantly obvious. Some are designed with aesthetics in mind. Some people will hide their cameras to capture any unwanted activity around the home, but occasionally just the sight of a camera will deter vandals.
Cost: In our testing, we found more expensive doesn’t necessarily mean better. It is important to consider the features you need vs. purchasing based on price.
Software
Mobile app: Smartphones have become an integral part of our daily lives; it’s part of the reason why self-monitored outdoor cameras work so well. Each camera we tested had its own secure app for easy customization, notifications and to view the live video feed. Not to discount the web access, but we found the app was more user-friendly, customizable and accessible.
Power and Wi-Fi: Most home Wi-Fi routers can send a signal through the average 2000-square-foot home while being strong enough to connect a handful of devices. For the camera to run 24/7, it needs to stay charged and have a steady Wi-Fi signal.
When looking at a power source, consider what works better for you: A battery-powered camera that can easily be removed and charged, or a plug-in system to set and forget? Is it easy to find a plug where you want to install the camera? What would happen to the camera if you should ever lose power or a Wi-Fi signal?
Cloud or app storage: Cloud storage will keep all of your data online and let you safely access it a few different ways. App storage will keep data directly on your phone. Storage options will vary depending on the camera and app you choose. The preferred method is cloud storage so you can store as much as necessary.
Monthly fee: Most cameras come with limited storage for free, ranging from a few hours to a few days. Some self-monitoring systems allow you to upgrade your storage or monitoring plan for an additional cost.
How secure are outdoor cameras?
In today’s world, cybersecurity is a hot topic. Most home Wi-Fi networks are password protected with additional firewalls for safety. For most homeowners, maintaining a secure Wi-Fi password that is not kid/petname123 is the best way to keep your cameras secured. It is always good to remember to use best practices for Wi-Fi; it will ensure your self-monitored systems are safe and secure.
Security concerns don’t stop with your Wi-Fi, though. Internet-connected cameras are always on and always transmitting, so in the past, they’ve been prime targets for botnet attacks that hijack common devices and use them to overload web servers. Even Wi-Fi itself was shaken to the core last year when security researchers demonstrated the “KRACK” vulnerability that gave access to encrypted data sent over Wi-Fi.
We don’t want our cameras to fall into the wrong hands, but there’s really nothing we can do ourselves to check for vulnerabilities in the camera, website or app programming. Buying a web-connected device, we have to trust that the engineers at the manufacturer or service provider are doing what they can to track down and fix vulnerabilities.
Best Outdoor Security Camera Systems 2023
Read More : Best Dome Cameras for Indoors – Outdoors
Each camera we tested came with additional paperwork informing us of safety and security features that the camera, app or software provided. Software updates were sent out at least once for each camera that we tested. It was important to see that security was one of the top things on each companies lists, as it was for us when testing.
Beyond the security of the website and camera, you also need to think about the security of devices you allow to access your footage and notifications.
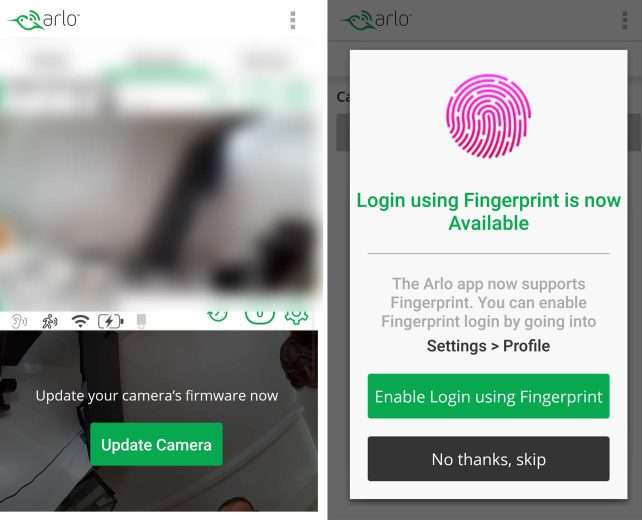
The Arlo – Pro 2 allows for only one user to be on the app at once, and further protects it by requiring a fingerprint authentication before continuing. This means that users must have the latest version of smartphones. The Amcrest – ProHD only allowed for one device to have access to the live feed at a time, and the Vimtag – B3-S Outdoor Camera stores all footage on an included SD card, not on your phone or in the cloud, so you must have access to the camera to view previous footage.
How we tested
Camera location
First, we scoped out the best location for our outdoor cameras. Where was all the action happening, what do we want to monitor, where could we get the best view, and where is the best location aesthetically?
For the front of the house, we picked the corner of the porch to be able to see the front door, the driveway, the sidewalk and street in front of the house. We chose this area because it was the best position to see the direction someone was able to enter and exit the property.
For the backyard, we picked both central and corner areas over the patio/balcony that would best see where and how people would enter the property. It was also set with the intention to monitor our kids and pets activities as well as any potential wildlife that cruised through the backyard. The easiest setup spot was for the garage, set to view who came in and out.
Software setup
It is important to note that you must set up the phone app before installing. Another pro-tip: have your smartphone already connected to your home Wi-Fi router. We discovered that this small task will make your life a lot easier during the install phase.
All smartphone applications were the same name brand as the camera itself. We headed over to the Google Play store and iTunes to download the apps. Once fully installed, the app will walk you through the remaining setup steps.
All cameras had a printed QR code and serial number on the device. Using your smartphone camera, you slowly roll over the code to pick up the device’s unique signal. This was the longest step in the setup process; it took us two or three attempts for most cameras to successfully connect to the app and start syncing. Once connected, our live feed began. Our top performing Nest – Cam Outdoor, Ring – Spotlight Cam and Blink – XT Home Security Camera all connected in under 20 seconds once scanned, unlike the Vimtag – B3-S Outdoor Camera (we actually tested the BS-1 model, per note in “Other finalists” section below) which sent out a signal and took nearly five minutes before we could move onto the next step.
Now that our self-monitored camera system has started running, it is time to install the cameras. We finished the software setup after the physical cameras are installed, which includes the customization of the feed and best picture angle.
Hardware setup
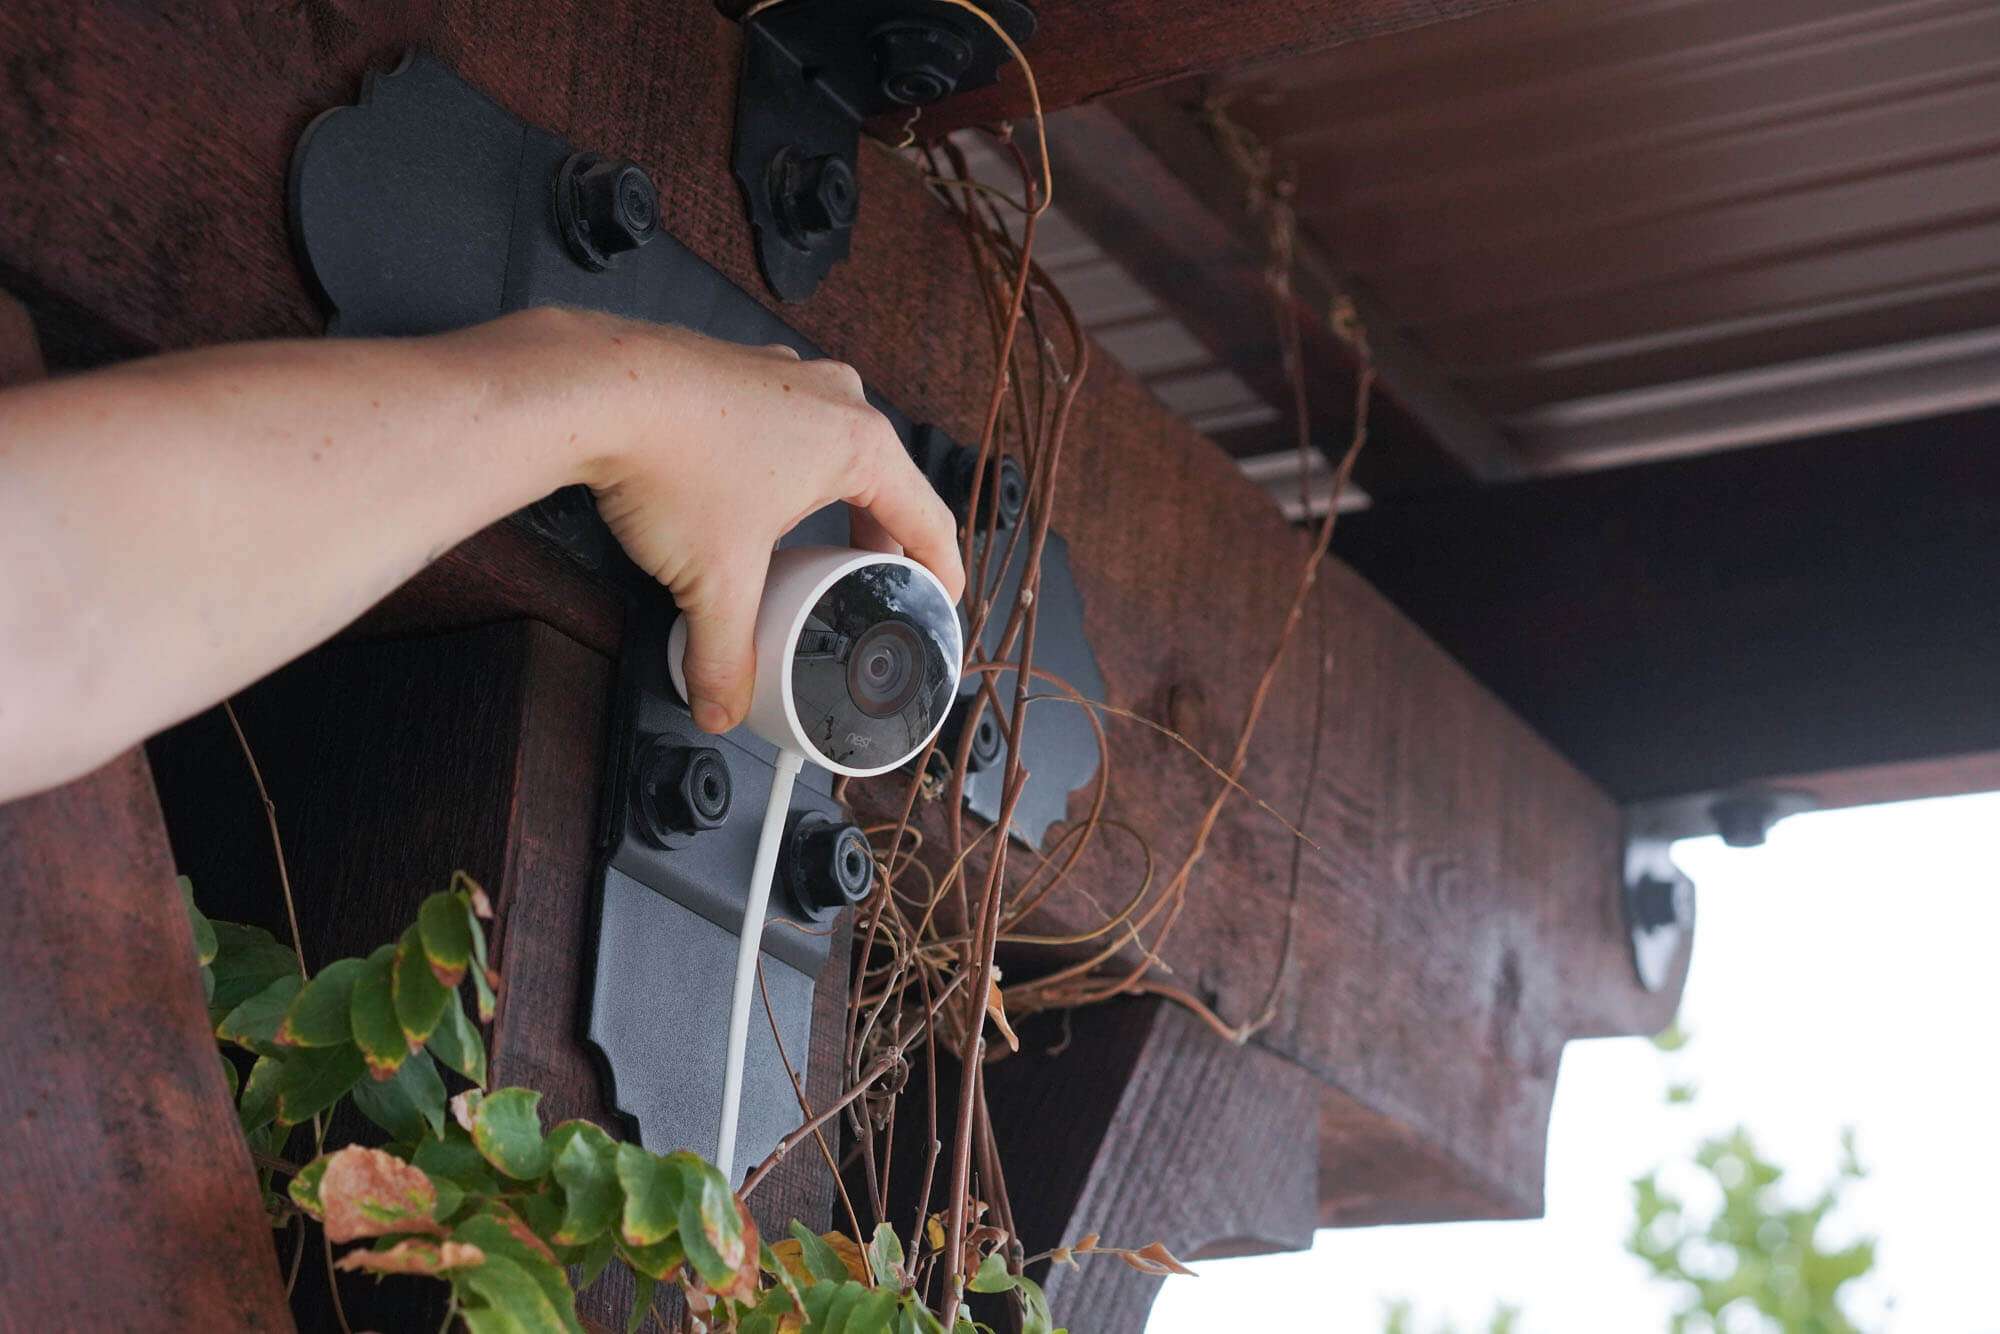
Every camera came with all essential supplies: wall mounts, screws and drywall screws to make installation easy. The only at home supplies used to install the cameras were a power drill, ladder and extension cord. While some bases such as the Vimtag and Amcrest needed more than two hands to help hold the base in place so the camera doesn’t hang and bang around during install, we loved the Nest and the Arlo’s magnetic base that made it easy to install prior to camera setup and then adjust with only one person.
It is important to note the length of the power cord for plug-in cameras for your self-monitoring system, if any, when considering a location. Knowing the distance helped us find the best place to plug the cameras in and then buy any additional supplies needed to hide the cords of the camera. We used a plastic wire hider or command hooks. If you don’t like the idea or look of camera or extension cords we recommend going with the wireless Arlo or Blink cameras.
Motion activity and sensitivity
Once the camera and notifications were set, it was time to set off the alarms. We walked, skipped and ran past each camera, timing with a stopwatch how long it took notifications to be sent to our phones. Most notifications were sent within seconds with the Nest, Arlo, Ring and Blink coming nearly instantaneously.
The true test was when the cameras sensed motion at a point when we were not ready and waiting for them. Whether it was a postal delivery, a neighbor walking by or an animal wandering through, we jumped on the live feed once a notification was received to see what it was for and how delayed it was in sending. The best night view came from the Ring; as soon as motion was detected, two powerful lights came on to enhance the video and scare off any unwanted guest.
Each camera performed well, but some a bit too well. We had to adjust our notifications so we didn’t see every bird fly by or leaf fall from the tree. One of our favorite features was the “Anti-Dither” featured on the Amcrest; this allows you to specify how long you want something to move before sending out alerts.
Most apps had these custom settings to allow us to do so. Another benefit of some self-monitored systems is that they allow for the user to set “motion zones,” or specific areas in the field of view for which to receive notifications. We set these for the top of a door or sidewalk to avoid smaller movement.
Wi-Fi and self-monitored systems
A live feed and notification is only as good as how accurately and quickly they are received. All cameras we tested had a live feed delay of 5 seconds or less and notifications came within 10 seconds, but there are a few factors that could delay or change the delay time.
If you have a large home or are running cameras far away from your Wi-Fi router, that creates a laggy feed, so a simple addition to your home may be installing a plugin Wi-Fi extender. This will boost the signal another few hundred to thousand feet depending on the brand and device you choose. A good rule of thumb is that if your phone can pick up Wi-Fi, so can your camera. Both the Blink and Arlo came with their own base extender to allow you to install your cameras in even the outermost reaches of your home.
Ease of use
We had two vastly different personalities testing the self-monitored camera systems, one who was very tech savvy and another who “just needs it to work the first time.” Our results showed that if you can follow the instructions provided, and have a little patience, a self-monitoring system can easily be set up in your home by any level of a tech expert.
Just in case, we went to each company’s FAQ page to see how accessible help would be if needed. These camera companies have plenty of resources on their websites and help pages so you can become your own home security expert without having to pay a professional. We used the “tips and tricks” to help us further customize our feed and app, and we found it especially helpful for setting motion zones.
If it’s just not working out for you, you can pay a professional installer. Nest has a professional installer locator, and there’s a service on Amazon you can order for Ring-specific installation. If a brand you go with doesn’t have a resource for a pro install, you may be able to get by with Geek Squad or an equivalent since these installs require relatively basic handyman skills for hardware install and basic networking and app setup.

