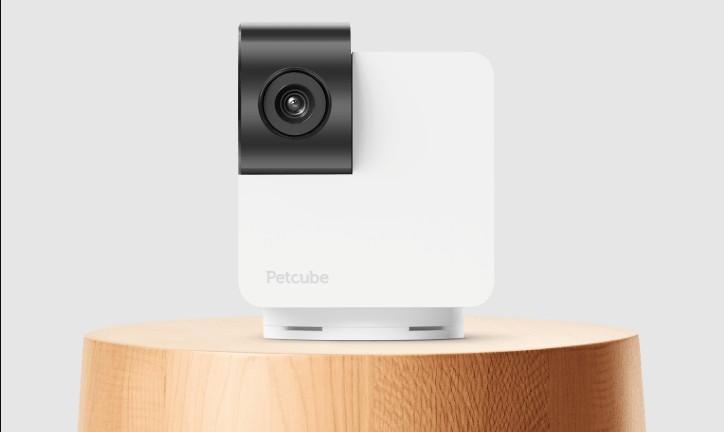
Views: 37Ebitcam is an APP designed specifically for our Ebitcam Wif IP Cameras. Through the APP you could set up your cameras,...
REKLAM
Views: 37
Ebitcam is an APP designed specifically for our Ebitcam Wif IP Cameras. Through the APP you could set up your cameras,
watch the live video ,talk to whoever is on the camera side ,and get alarm notification when abnormal motion detected. With the Ebitcam APP working together with your ip cameras, you are always with your home and families,wherever you are and whenever it is.
To access camera via web browser or download for PC client, please visit https://www.ebitcam.com/device . Connect camera to your network with the included Ethernet cable.
Log In & Sign Up
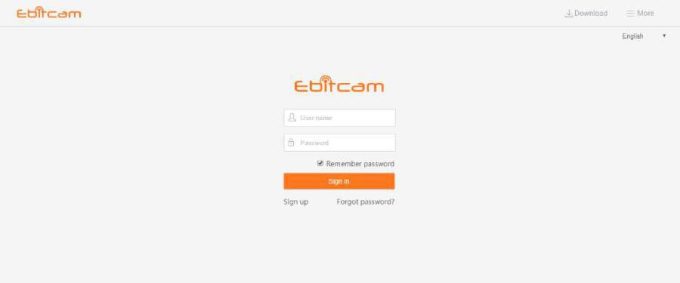
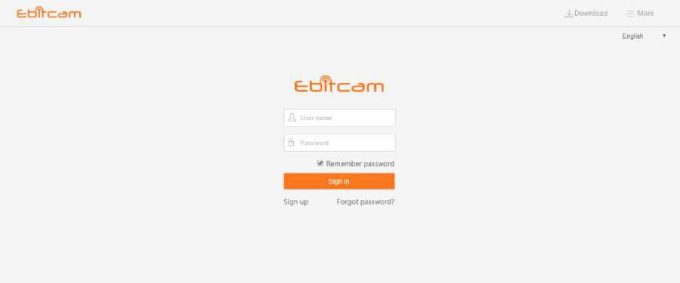
The following window will appear in the web browser and on the client side
• Enter your User name and Password, and click Sign in.(If you are a new user, Select “Sign up” and create a Username and Password.)
• The first time you log in, you need to install the video plugin.
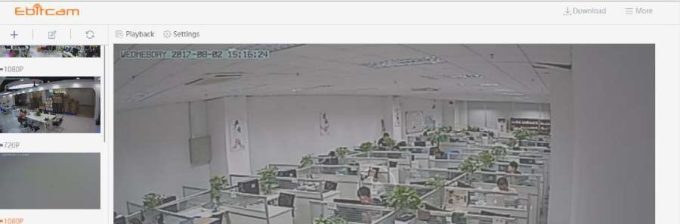
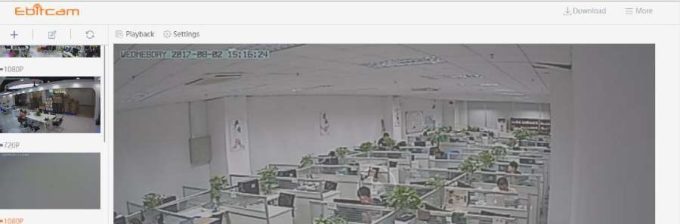
• The website interface opens. If devices have been added, the current image for each active device is shown in the dashboard.
Note: for better viewing experience, you can download the EBITCAM PC client by clicking the “Download” in the upper right corner of the login screen.
Main Interface
The camera features a number of different settings, all of which you will be able to access through the main interface. Keep in mind that when you are changing the settings, which we will be discussing in this chapter, the camera must first be live and active.
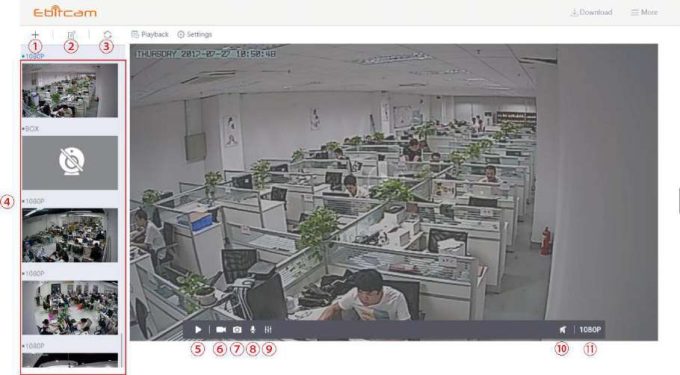
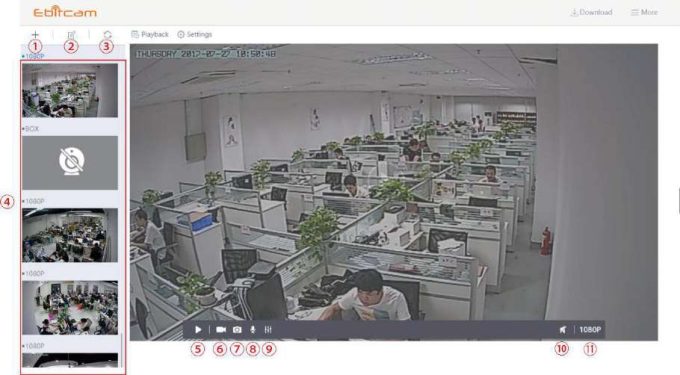
①Device Add button:Click the “+” to complete the device addition according to the wizard.
②Device delete button:Click to delete the added device.
③Device refresh button: Show all device thumbnails
④Device Thumbnails: For each device that has been added to the account, one thumbnail appears. Below the image, the Nickname of the device is listed.
⑤Stop/ Play:Press the button and you will be able to see the live feed.
⑥Record:to initiate a live recording.
⑦Snapshot:to create a snapshot image of the current view.
⑧Microphone:to transmit your voice through the device.
⑨Image setting:which enables you to set the mode for brightness, contrast, saturation, etc.
⑩Speaker:to transmit remote sounds.
⑪Resolution:user can choose the resolution of the images.
Pan, Tilt
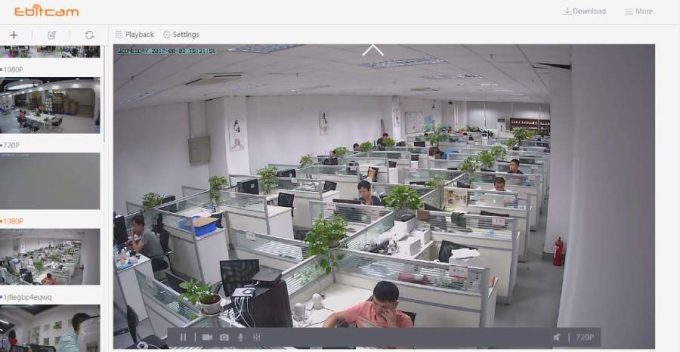
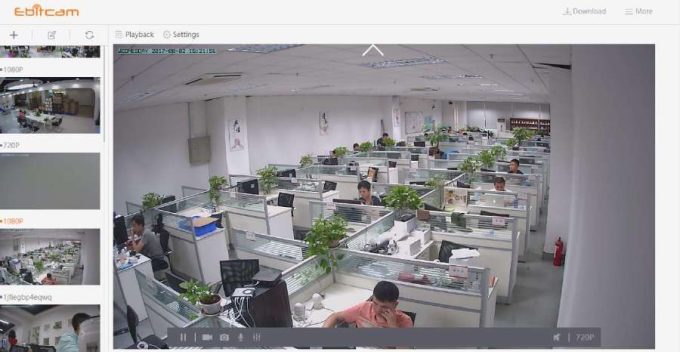
On computers only: move camera left, right, up and down using directional controls. These controls are only available as you move the mouse to hover over the display edges (top,bottom, left and right in the middle). Not all cameras provide the full range of rotation, panning, tilting, etc.
Note:The screen can not be zoomed on the computer.
Playback
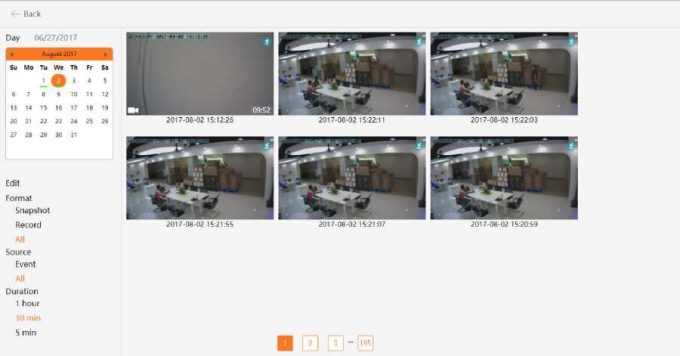
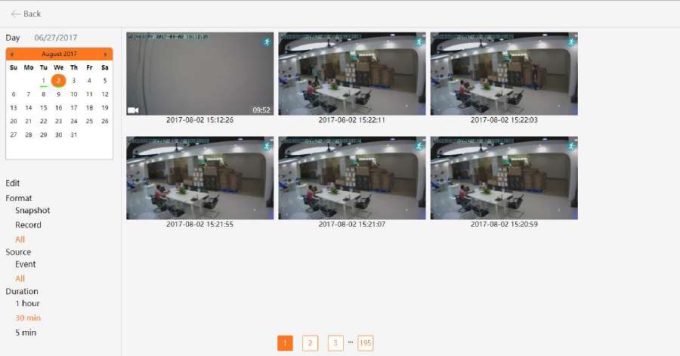
If you do not have an SD card in your camera, this will be a blank screen. If you do have an SD card in your camera and you capture videos, you will see a list of videos on the this screen.
• Day: Quickly view video time
• Edit: Delete the video
• Snapshot: Clicking on one of the pictures will open up the image into a separate popup, making it larger and easier to see.
• Record:Under the Records column, it will show you whether the record indicates video.
• Event: Display motion detection video.
• Duration: Select the length of each video recording, the default is half an hour.
Settings
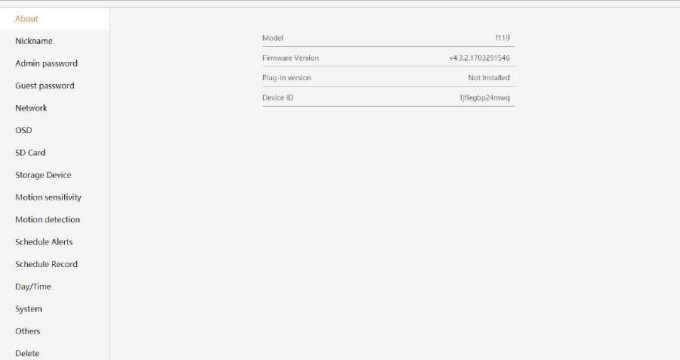
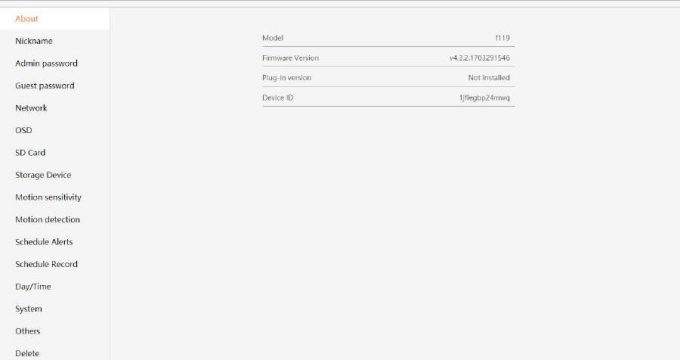
• About:Provides information about your device.
• Nickname:Set a user-friendly name for your device.
• Admin Password:Change the Admin password for device.
• Guest Password: Create a Guest password for device.
• Network: Configure network settings.
• OSD (On Screen Display): Modify the on-screen display settings.
• SD Card: Enable the use of an SD Card. You can also format and unmount the SD Card.
• Storage Device: Enable a Cloud Box for additional storage, then enter the device ID and password.
• Motion sensitivity: You can change the sensitivity settings for day and night operation separately to improve motion detection. Scheduling Alerts: Schedule specific times when alerts should be active.
• Schedule Record : Schedule times when you want the camera to record. Options are either 24/7 or at specific times.
• Date/Time: Set the date and time for the device.
• System: Set System options such as restoring to factory settings, restarting, etc.
• Others: Miscellaneous options such as flipping the camera view, adjusting the audio, etc.
• Delete: Delete the device.
More (Account Settings)
The Settings page contains the following options:
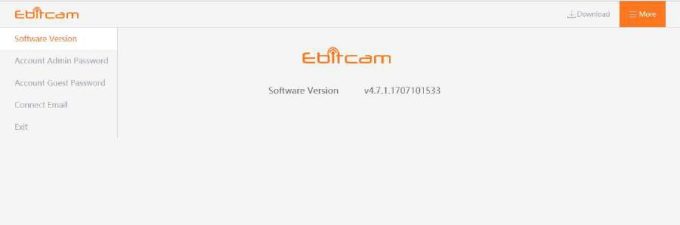
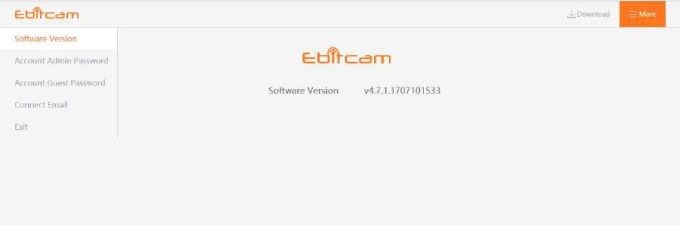
• Software Version – View the current version of the software
• Account Admin Password – This enables you to change your account password.
• Account Guest Password – If you wish to allow someone access to your camera, you can assign them a user guest password, which can be disabled at any time. Guests can view what the cameras are broadcasting and can move the cameras, but they will not be able to make any changes in the settings or use the remote microphone.
• Connect Email – Enter an Email address. This is the email account to which notification is sent when you ask to reset your password.
• Exit – Exit the current account.
How to use Ebitcam PC Client
Using the Website browser or PC client
To access camera via web browser or download for PC client, please visit https://www.ebitcam.com/device . Connect camera to your network with the included Ethernet cable.
Log In & Sign Up
The following window will appear in the web browser and on the client side
· Enter your User name and Password, and click Sign in.(If you are a new user, Select “Sign up” and create a Username and Password.)
· The first time you log in, you need to install the video plugin.
· The website interface opens. If devices have been added, the current image for each active device is shown in the dashboard.
Note: for better viewing experience, you can download the EBITCAM PC client by clicking the “Download” in the upper right corner of the login screen.
Main Interface
The camera features a number of different settings, all of which you will be able to access through the main interface. Keep in mind that when you are changing the settings, which we will be discussing in this chapter, the camera must first be live and active.
①Device Add button:Click the “+” to complete the device addition according to the wizard.
②Device delete button:Click to delete the added device.
③Device refresh button: Show all device thumbnails
④Device Thumbnails: For each device that has been added to the account, one thumbnail appears. Below the image, the Nickname of the device is listed.
⑤Stop/ Play:Press the button and you will be able to see the live feed.
⑥Record:to initiate a live recording.
⑦Snapshot:to create a snapshot image of the current view.
⑧Microphone:to transmit your voice through the device.
⑨Image setting:which enables you to set the mode for brightness, contrast, saturation, etc.
⑩Speaker:to transmit remote sounds.
⑪Resolution:user can choose the resolution of the images.
Pan, Tilt
On computers only: move camera left, right, up and down using directional controls. These controls are only available as you move the mouse to hover over the display edges (top,bottom, left and right in the middle). Not all cameras provide the full range of rotation, panning, tilting, etc.
Note:The screen can not be zoomed on the computer.
Playback
If you do not have an SD card in your camera, this will be a blank screen. If you do have an SD card in your camera and you capture videos, you will see a list of videos on the this screen.
· Day: Quickly view video time
· Edit: Delete the video
· Snapshot: Clicking on one of the pictures will open up the image into a separate popup, making it larger and easier to see.
· Record:Under the Records column, it will show you whether the record indicates video.
· Event: Display motion detection video.
· Duration: Select the length of each video recording, the default is half an hour.
Settings
· About:Provides information about your device.
· Nickname:Set a user-friendly name for your device.
· Admin Password:Change the Admin password for device.
· Guest Password: Create a Guest password for device.
· Network: Configure network settings.
· OSD (On Screen Display): Modify the on-screen display settings.
· SD Card: Enable the use of an SD Card. You can also format and unmount the SD Card.
· Storage Device: Enable a Cloud Box for additional storage, then enter the device ID and password.
· Motion sensitivity: You can change the sensitivity settings for day and night operation separately to improve motion detection. Scheduling Alerts: Schedule specific times when alerts should be active.
· Schedule Record : Schedule times when you want the camera to record. Options are either 24/7 or at specific times.
· Date/Time: Set the date and time for the device.
· System: Set System options such as restoring to factory settings, restarting, etc.
· Others: Miscellaneous options such as flipping the camera view, adjusting the audio, etc.
· Delete: Delete the device.
More (Account Settings)
The Settings page contains the following options:
· Software Version – View the current version of the software
· Account Admin Password – This enables you to change your account password.
· Account Guest Password – If you wish to allow someone access to your camera, you can assign them a user guest password, which can be disabled at any time. Guests can view what the cameras are broadcasting and can move the cameras, but they will not be able to make any changes in the settings or use the remote microphone.
· Connect Email – Enter an Email address. This is the email account to which notification is sent when you ask to reset your password.