Views: 13
FLIR Cameras – Manual Firmware Update, Firmware updates for FLIR’s Handheld cameras were previously performed through FLIR Tools. However, as FLIR Tools has been discontinued, it may no longer automatically detect the latest firmware updates. Therefore, to keep your FLIR camera up to date with the latest firmware, you will have to perform the update manually.
This procedure will include detailed steps necessary to update the firmware on FLIR Cx, Ex, Exx,/Exx-EST, T4xx, T6xx, T5xx/T5xx-EST, T8xx and T10xx series cameras manually, without FLIR Tools software.
Prerequisites:
Firmware Download
FLIR Cameras Manual Firmware Update
Also Read : Download FLIR Firmware and Software
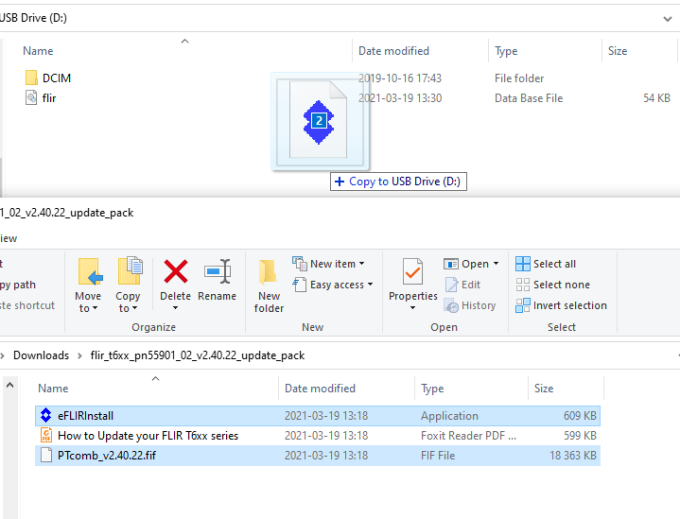
SD Card Preparation Through USB (Preferred Method)
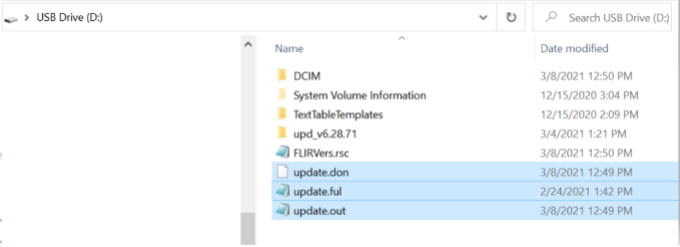
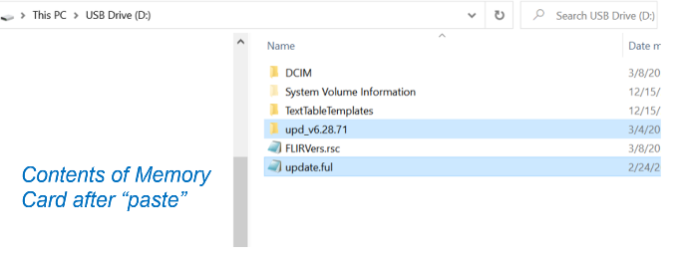
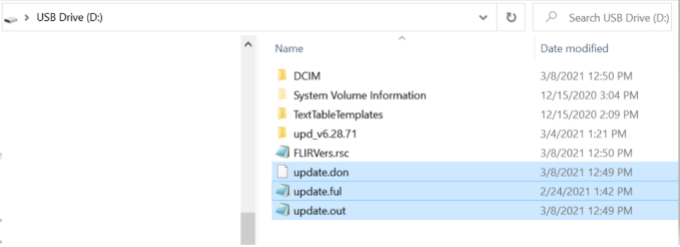
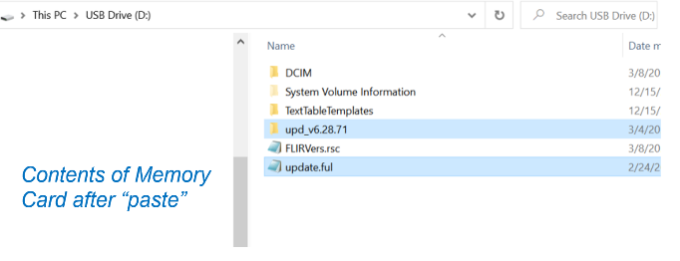
Note: Before proceeding with the next step, you need to remove/delete any existing files named update.don, update.out, and update.ful that may have previously been saved in the root directory of the SD card. (If there is no update.don/out/ful files, you can proceed to step 3 directly)
Example Video:
SD Card Preparation with Card Reader
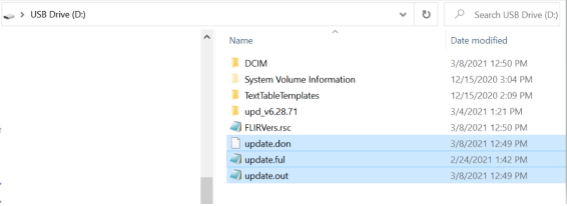
Note: Before proceeding with the next step, you need to remove/delete any existing files named update.don, update.out, and update.ful that may have previously been saved in the root directory of the SD card. (If there is no update.don/out/ful files, you can proceed to step 4 directly)
Special Case T4xx and T6xx-Series
The T4xx and T6xx series cameras are running an older OS, therefore, the procedure is slightly different for these models.
If the P/N starts with 55903/55904 (T6xx) or 62103/62104 (T4xx) it is a Mk II camera.
Special Case Exx-Series cameras built before 2017
The older Exx series cameras (E40, E50, E60, etc) are running an older OS, therefore, the procedure is slightly different for these models.
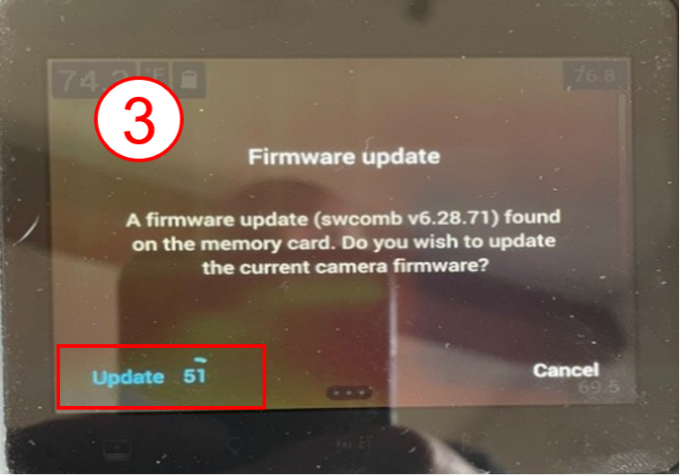
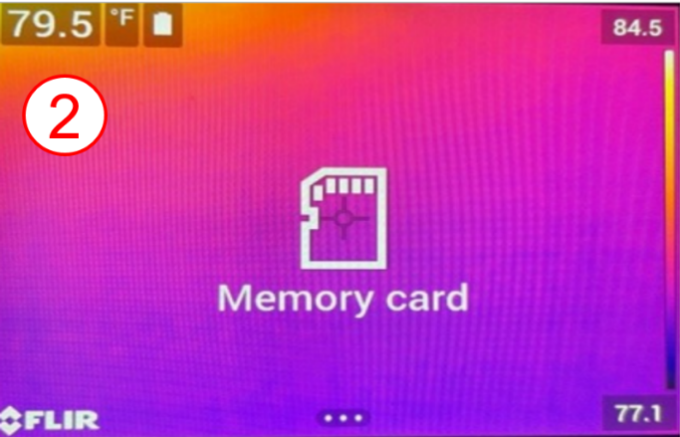
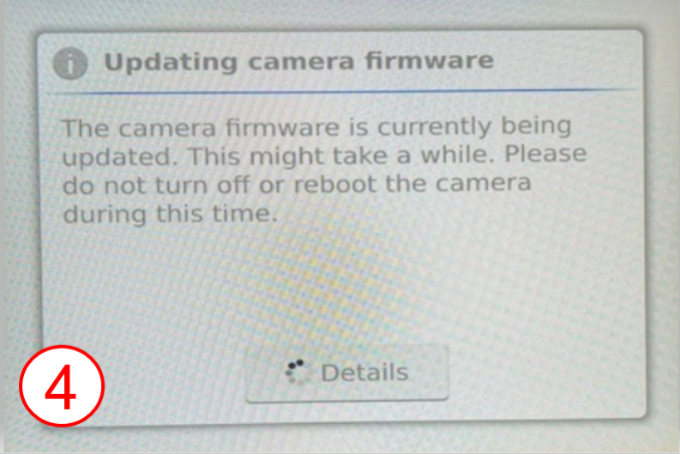
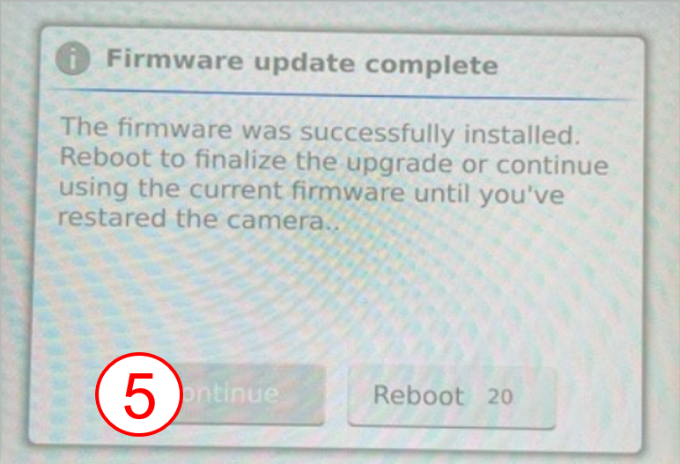
Performing the Update
Caution:
The camera may be damaged if power is interrupted during the update. Do not turn off the camera, remove or disconnect the power source. Do not remove the SD card while the update is in progress.
Make sure the camera battery is fully charged before you begin!
Note: You can verify the new firmware update by checking the version number in the Camera Information section under the Device Settings.
FLIR Cameras – Downloading your camera’s firmware / software update files
Follow the steps below to download your camera’s firmware/software
Please note: The Software version values below are examples; actual latest software version values may be above. Example: FLIR T5xx and T840 Update Pack 6.19.67 or above.
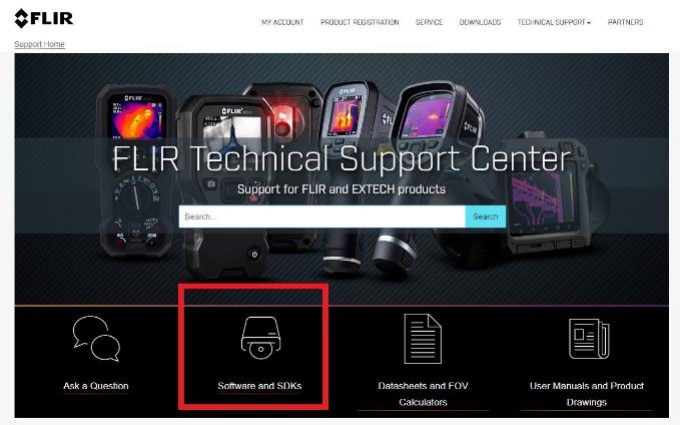
Step 1: Go to the FLIR Technical Support Center homepage support.flir.com
Step 2: Click Software and SDKs on the bottom middle of the screen.
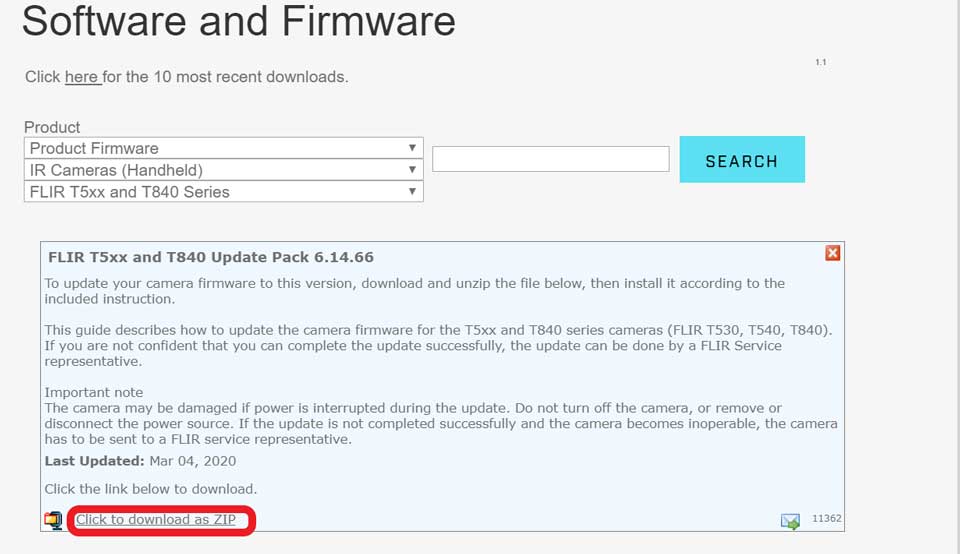
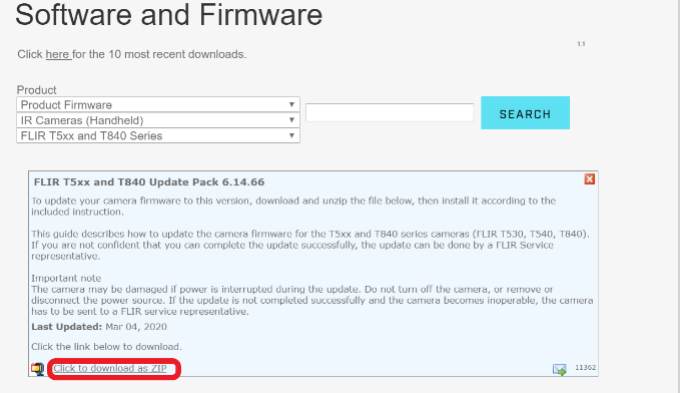
Step 3: Once you arrive at the software page, use the drop-down arrows to select the type of camera’s firmware/software.
Step 4: Click the camera’s firmware/software.
Step 5: Click “Click to download as ZIP” and the folder will download to your computer’s default folder (typically “Download” folder).
Step 6: Unzip the folder and follow the instructions in the PDF file to update your camera.
Please contact our Technical Support at “Ask a Question” if further assistance is needed.
MIO firmware update
How do I update the MIO firmware?
There is new firmware available for MIO I/O modules: for the firmware and instructions, download the attachments:
FLIR – K Series camera Updating Firmware
How do I update my K-series Camera?
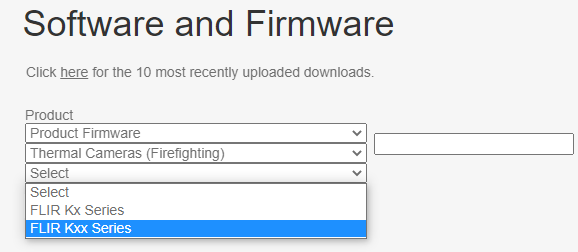
Start with downloading the firmware from here: Software and Firmware Downloads. Under Product Firmware, select “Thermal Cameras (Firefighting)” and then your camera series. Or use the search bar.
Once you have the firmware downloaded:
1. Unzip and extract the standalone *.exe file
2. Connect your camera to the computer using a USB cable.
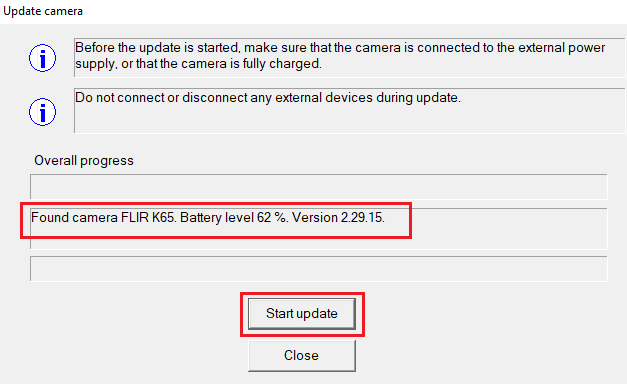
3. Run the standalone *.exe file.
4. Click “Find camera”
5. Once the program has found the camera, press “Start Update”.
6. A progress bar indicates the installation progress.
When the message “Camera updated successfully” appears, the camera has been sucessfully updated and you can close down the application
FLIR – ix series / Extech i5 Cameras Updating firmware
How do I update firmware on FLIR ix series / Extech i5 cameras?
Updating the firmware for FLIR ix series / Extech i5
Thank you for choosing a FLIR product. This guide describes how to update the
camera firmware for the ix series and Extech i5. If you are not confident that you can perform the
update successfully, the update can be performed by a FLIR service representative.
Important
The camera may be damaged if power is interrupted during the update. Do not turn the
camera off, remove or disconnect the power source. If the update is not completed
successfully and the camera becomes inoperable, the camera has to be sent in to a
FLIR service representative.
Preparation
To update the camera firmware, you will need:
• The camera
• SD-card (memory card)
Download the files and place them on the SD-card
(You need to be logged in to download the files – More information)
Download, save and copy the files to the SD-card Click here to view/hide the instruction
Install the files in the camera
|
• Put the SD-card into the camera
• Select Firmware in the Settings menu
|
|
|
|
|
|
• Check Current version and Version available on SD-card
• Update to the version on the SD-card by pressing the Update button
|
|
|
|
|
|
• Confirm the update by pressing the Update button again
Note! The button has changed side
|
|
|
|
|
|
• The firmware update progress is displayed
• The update can take up to 30 minutes depending on how big the update is and during this time the camera can restart 1 – 3 times. Be patient!
|
FLIR Ignite – Firmware Update for Exx, T5xx and T8xx Cameras
How do I upgrade my FLIR Premium Handheld camera with Ignite connectivity?
Disclaimer: This update is only applicable for Exx (2017 & 2020), T5xx, and T8xx models. Do not install this firmware version on Exx-EST and T5xx-EST versions
If you want to learn more about FLIR Ignite and its functionalities, please take a look at this FAQ.
To update your FLIR camera, please follow the steps below:
1. Prerequisites
Note: If you are not confident that you can complete the update successfully, the update can be done by a FLIR Service representative.
2. Firmware Download
3. SD Card Preparation Through USB
Note: Before proceeding with the next step, you need to remove/delete any existing files named update.don, update.out, and update.ful that may have previously been saved in the root directory of the SD card. (If there is no update.don/out/ful files, you can proceed to step 3 directly)
Example Video:
4. Performing the Update
Caution: The camera may be damaged if power is interrupted during the update. Do not turn off the camera, remove or disconnect the power source. Do not remove the SD card while the update is in progress. Make sure the camera battery is fully charged before you begin!
Note: You can verify the new firmware update by checking the version number in the Camera Information section under the Device Settings.
