

Views: 0
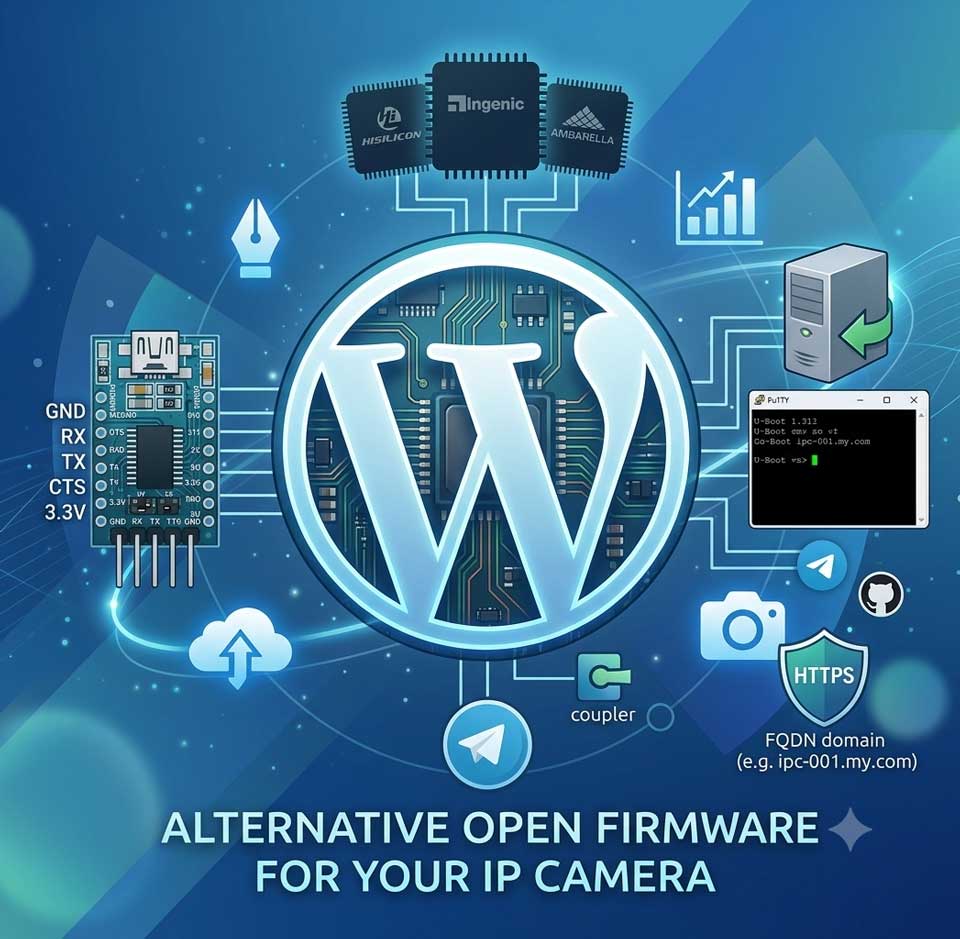
Imagine this: It’s late at night. You receive a security alert on your smartphone, but instead of a crisp video feed, you are met with a blank screen, a blinking light, or an endless loading loop. You just wanted to apply a routine security patch, but one misstep during the process turned your high-tech guardian into an expensive, unresponsive paperweight. You just bricked your security camera.
It is every property owner’s nightmare. Firmware updates are vital for closing security vulnerabilities, unlocking advanced AI features, and ensuring seamless integration with your network. However, rushing through the update process is the fastest way to destroy your hardware. But don’t panic—and definitely don’t throw your camera away just yet. In this comprehensive, step-by-step masterclass, we will show you how to update CCTV firmware safely, avoid catastrophic failures, and keep your surveillance ecosystem running at peak performance.
📌 İçindekiler
- Why CCTV Firmware Updates Are Non-Negotiable
- What Does "Bricking" a Camera Mean?
- Golden Rules to Prevent Bricking Your Security Camera
- 1. Verify the Exact Model Number and Hardware Version
- 2. Secure a Stable Power Supply
- 3. Never Use Wi-Fi for Firmware Transfers (If Possible)
- Step-by-Step Guide: How to Update CCTV Firmware Safely
- Step 1: Download the Official Firmware File
- Step 2: Back Up Your Current Settings
- Step 3: Perform the Update via Local Web GUI
- Step 4: The Waiting Game (Crucial!)
- Step 5: Verify and Clear Cache
- Comparison of Firmware Update Methods
- What to Do If Your Camera Bricks Anyway
- Conclusion: Secure Your Property Like a Pro
- Can I update all my security cameras at the same time?
- What should I do if the firmware download file is a .zip archive?
- Will updating my camera firmware delete my recorded video footage?
Why CCTV Firmware Updates Are Non-Negotiable
📌 İlginizi Çekebilir: How To SetUp Anran Camera
Before we dive into the “how-to,” let’s talk about the “why.” Many users adopt an “if it ain’t broke, don’t fix it” mentality regarding their security devices. Unfortunately, in the world of IoT (Internet of Things) and cybersecurity, that mindset is dangerous.
Security cameras are constantly targeted by botnets, hackers, and malicious actors looking for unpatched vulnerabilities. Manufacturers release firmware updates to:
- Patch Zero-Day Exploits: Fix critical security flaws that hackers can exploit to gain unauthorized access to your private video feeds.
- Enhance Compatibility: Ensure your cameras work harmoniously with modern recording hardware, such as those detailed in our SureVision NVR Complete Guide.
- Improve AI and Analytics: Upgrade motion detection algorithms, reduce false alerts, and introduce smarter object-recognition capabilities.
- Fix Bug Issues: Eliminate annoying connection drops, audio sync errors, and storage formatting bugs.
Despite these massive benefits, the update process requires precision. Let’s explore what “bricking” actually means and how to prevent it.
What Does “Bricking” a Camera Mean?
📌 İlginizi Çekebilir: Ubiquiti Update Camera: Complete Guide
In tech terminology, a “brick” refers to a device that is as useful and functional as a solid clay brick. When you brick a CCTV camera, the flash memory containing the device’s operating system (firmware) gets corrupted, overwritten incorrectly, or interrupted mid-installation. Once corrupted, the camera cannot boot up, connect to the network, or communicate with your Network Video Recorder (NVR).
There are two types of bricks:
- Soft Brick: The camera won’t boot normally, but the low-level bootloader is still intact. This can usually be recovered using specialized tftp recovery tools or dedicated manufacturer software.
- Hard Brick: The internal flash chip is completely wiped or physically corrupted. The device shows zero signs of life (no lights, no response). Recovery often requires specialized hardware programmer tools or motherboard replacement.
Preventing this fate is entirely about preparation and following a strict protocol. Let’s look at the foundational rules of safe updating.
Golden Rules to Prevent Bricking Your Security Camera
Before you click that tempting “Update Now” button, run through this mandatory checklist. Skipping even one of these steps significantly increases your risk of failure.
1. Verify the Exact Model Number and Hardware Version
Never download firmware just because the brand name matches. A manufacturer might have five different hardware revisions for what looks like the exact same camera model. Installing firmware meant for “Revision B” onto a “Revision A” device is a textbook way to brick it. Always check the physical sticker on the camera or log into the web GUI to confirm the exact model number and build version.
2. Secure a Stable Power Supply
What happens if your electricity flickers or your UPS fails 45 seconds into a 3-minute firmware flash? The process halts, leaving the flash memory half-written. Always ensure your camera is connected to a reliable Power over Ethernet (PoE) switch with a battery backup (UPS), or plugged directly into a stable wall outlet if using a standard DC power adapter.
3. Never Use Wi-Fi for Firmware Transfers (If Possible)
Wireless connections are susceptible to interference, packet loss, and momentary drops. If you are updating a wireless camera, make sure it has an exceptionally strong signal, or temporarily plug it directly into your router or switch using an Ethernet cable during the update process. If you ever encounter login lockouts or credential issues while preparing your network, refer to The Ultimate Guide: How to Reset Your WiFi Camera Password to regain control before attempting the flash.
Step-by-Step Guide: How to Update CCTV Firmware Safely
Now that you know the risks and the rules, let’s walk through the foolproof, professional method for updating your surveillance hardware.
Step 1: Download the Official Firmware File
Go directly to the official manufacturer’s support website. Do not download firmware from third-party forums, random cloud drives, or unverified blog posts. Counterfeit or modified firmware files can contain hidden backdoors or malware.
Step 2: Back Up Your Current Settings
Before making any major system changes, log into your camera’s web management interface, navigate to the “System” or “Maintenance” tab, and export your configuration settings. If the update resets the camera to factory defaults, you can easily restore your IP addresses, motion zones, and recording schedules in seconds.
Step 3: Perform the Update via Local Web GUI
While cloud apps and mobile software offer convenient “one-tap” updates, they are prone to packet timeouts. For maximum safety, use a desktop computer connected via a wired Ethernet cable to access the camera’s local web interface via its IP address using a browser like Internet Explorer mode or Chrome.
- Navigate to Configuration > System > Maintenance > Upgrade.
- Click “Browse” and select the official firmware file (.bin, .dav, or .zip depending on the brand).
- Click “Update” or “Upgrade.”
Step 4: The Waiting Game (Crucial!)
Once the progress bar begins, do not touch anything. Do not refresh the browser page, do not unplug the network cable, and do not cut the power. Let the camera complete the flash write, reboot itself, and re-establish network communication. This process usually takes between 2 to 5 minutes.
Step 5: Verify and Clear Cache
Once the camera reboots, log back into the web interface. Check the system information page to confirm the new firmware version is active. Clear your browser cache or open an incognito window to ensure the web GUI loads the new menus and features correctly.
Comparison of Firmware Update Methods
Choosing the right method to apply your updates can make the difference between a smooth transition and a system crash. Review the comparison table below to determine the safest approach for your network layout.
| Update Method | Risk Level | Speed | Recommended Use Case |
|---|---|---|---|
| Local Web GUI (Wired PC) | Lowest | Moderate | Best for all professional and critical security cameras. |
| NVR/DVR Interface | Low-Moderate | Moderate | Great for updating integrated PoE cameras connected directly to an NVR. |
| Mobile App (OTA) | Moderate-High | Fast | Convenient for consumer smart home cameras, but risky for commercial gear. |
| Third-Party Tools | Extreme (High Bricking Risk) | Varies | Never recommended unless specified by official advanced support. |
What to Do If Your Camera Bricks Anyway
Even when you take every precaution, hardware gremlins can strike. If your camera fails to boot after an update, take a deep breath and try these emergency recovery steps:
- Perform a Hard Factory Reset: Locate the physical reset button on the camera body. Hold it down with a pin or paperclip for 30 to 45 seconds while the camera is powered on.
- Check the Default IP Address: Firmware updates often reset cameras back to a factory default IP address (such as 192.168.1.64 or 192.168.0.120). Use an IP scanning tool like SADP or Angry IP Scanner to see if the device is responding on the network.
- Use TFTP Recovery Mode: Many enterprise-grade camera brands support TFTP (Trivial File Transfer Protocol) recovery. This allows you to push a fresh firmware image directly to the camera’s bootloader via an emergency network handshake.
Conclusion: Secure Your Property Like a Pro
Updating your CCTV firmware doesn’t have to be a gamble. By sourcing your files directly from trusted manufacturers, ensuring a rock-solid power and network connection, and utilizing the local web GUI method, you can fortify your security defenses without destroying your hardware.
Don’t leave your property vulnerable to outdated software bugs or zero-day threats. Audit your security camera versions today, follow our foolproof safety checklist, and enjoy total peace of mind knowing your surveillance system is running the most advanced, stable firmware available!
Can I update all my security cameras at the same time?
It is strongly recommended to update your cameras one by one rather than in a massive batch. Updating simultaneously can overwhelm your network switch, create massive traffic bottlenecks, and make it difficult to troubleshoot if an individual device encounters an error.
What should I do if the firmware download file is a .zip archive?
Many manufacturers compress their update files. Always extract the .zip file on your computer first. Look inside for the actual firmware file (usually ending in .bin, .dav, or .img). Uploading a compressed .zip file directly to the camera will result in an update failure.
Will updating my camera firmware delete my recorded video footage?
Typically, firmware updates only overwrite the system operating memory and do not touch the footage stored on your local SD card or hard drive NVR. However, to eliminate any risk of data loss, it is always a best practice to back up critical video clips before initiating any major system upgrade.